Article: How to Make Textured Wall Art
How to Make Textured Wall Art
Catalog:
1. Introduction
- Bare Walls No More
- The Visual and Tactile Appeal of Textured Wall Art
2. Understanding the Depths of Textured Art
- More Than Decoration
- Sensory Experience of 3D Wall Art
- Uniqueness of Each Art Piece
3. Building Your Textured Masterpiece: A DIY Adventure
- Essential Materials and Tools
- Techniques for Creating Texture
4. Preparing Your Canvas and Embracing Texture
- Choosing the Right Workspace
- Priming the Canvas and Other Preparations
5. Painting with Depth: Techniques for Textured Surfaces
- Selecting Appropriate Paints
- Layering Colors and Special Effects
6. Finding the Perfect Piece: A Guide to Buying Textured Wall Art
- Selecting High-Quality Pre-Made Art
- Recommendations for Trusted Retailers and Independent Craftsmen
7. Importance of Finishing Touches for DIYing Your Textured Wall Art
- Protecting Your Art with Sealants
- Choosing Between Matte and Glossy Finishes
8. **Presenting Your Plaster Wall Art: Mounting and Displaying**
- Selecting Simple Frames
- DIY Frame Making and Professional Installation Tips
9. Caring for Your Art: A Legacy of Beauty
- Avoiding Sunlight and Maintaining Cleanliness
- Daily Maintenance with Microfiber Cloth
- Following Artist’s Care Recommendations
10. Conclusion
- The Lasting Appeal of Textured Wall Art
- Purchasing Premium Textured Wall Art from Nukeart

Bare walls scream with emptiness, but not anymore when you will learn “how to make textured wall art". If you are the one who is longing for a touch of extraordinary to transform your flat walls into landscapes of depth, this is the right place for you.
Here, you will know how textured wall art brings in the allure of light and shadow. It is as inviting and pleasing to the eyes as nature itself.
Plaster wall art has a close connection to the human mind and soul as it creates an eternal connection between humans and nature. The uniqueness and imperfections of the textured wall art bring us to the wabi-sabi wall art, which is all the new rage.
Whether you are a seasoned artist who is going to try 3d wall art or you are a DIYer, textured wall art offers something for both of you. It will eventually bring personalization to your space by creating a sophisticated elegance.
But before we land on how to make textured wall art, let us first get to learn the details of textured wall art.
Understanding the Depths of Textured Art
“Decoration only!”
Nah!
Who said art only has the sole purpose of decorating your space?
Now, the concept is wide.
The textured wall art is an experience for your senses. Unlike traditional paintings, 3D wall art incorporates dimensions into your painting. It invites you to not only see but feel the presence of the imperfections of natural elements used in the painting.
Textual variation of the textured art canvas is not the same for each piece of painting you make. You will feel a clear difference between each piece you make. It will have a sense of feel and uniqueness to it. The variation of the textures used brings in light and shadow to picture a different perspective to everyone.
No matter what material you use, each piece has a story of its own. In textured wall art, the oil paints you use add a layer of complexity due to the presence of textured art canvas.
Flat surfaces cannot achieve this complex phenomenon.
You can make a unique piece on your own or buy wabisabi wall art or coastal wall art to satisfy your senses.
Each piece is surely a conversation starter on its own.


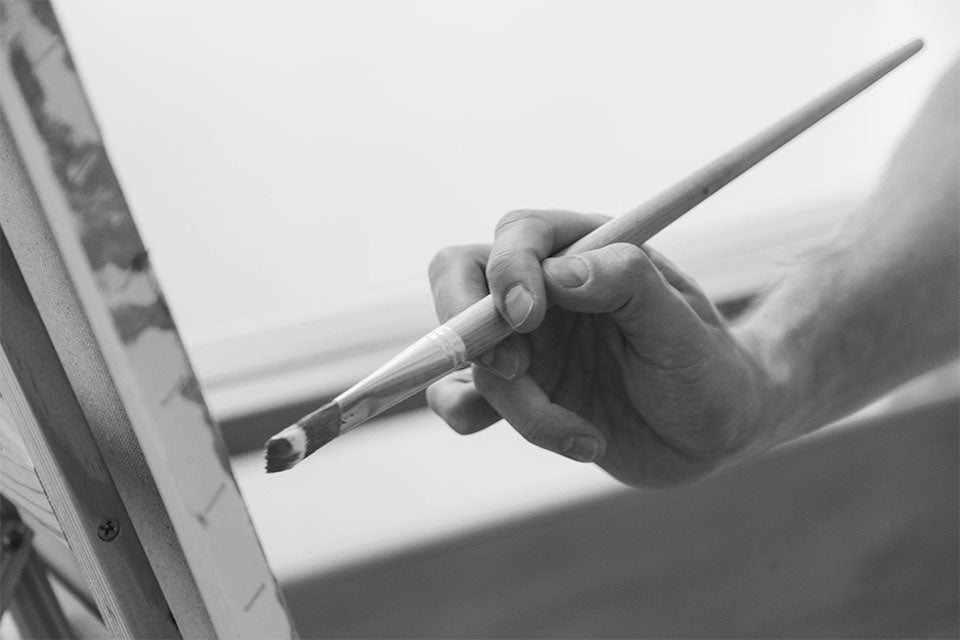
Building Your Textured Masterpiece: A DIY Adventure
To build textured wall art, you will need a sturdy canvas, which is the foundation for any wall art. You can get your hands on different texturing mediums. Acrylic molding paste or a joint compound can be used to bring the right 3d texture to your art.
To apply these textures, you will definitely need some spatulas or brushes to create the layers you want to make in your coastal wall art.
To further satisfy your unique needs, you can experiment with fabric or dried leaves to use as a tool to apply the texture to the canvas.
Get your tools ready and ensure you use premium quality acrylic paints and canvas to create lasting wall art.
The next step is to create an image of the art you want to create; you can get inspiration from any picture, or your mind can visualize its own coastal wall art.
Once the textured art canvas is ready, you are good to go for experimenting with colors you like in your wall art.
Preparing Your Canvas and Embracing Texture
You have gathered the tools and the materials you need; now, the time is to find a space that will help you gather all your senses together.
For this, a well-ventilated space can do wonders. Choose a place where you will find no distractions so you can complete your textured wall art as close to what you visualized in your mind.
Let us first prime the canvas with a primer. A primer like gesso helps to create a receptive surface to add to the texturing mediums later.
You are getting ready to explore the exciting part of making a large wall art - all on your own!
Creating textures!
Yes, the most loving part of making your own 3d wall art is to create texture on the canvas.
Time to be as creative as you can.
You can layer medius with a palette knife to bring depth to your art. Using a sponge can offer a subtle but speckled texture.
How lovely it seems to the eyes!
Go on with your wild imagination.
You can use unconventional materials like sand or coffee grounds to bring the coastal wall art close to the original.
If by chance you are not ready for all of this, you can even buy pre-made art from abundant online resources. So you don’t ever feel overwhelmed by the DIY process of gathering tools and mediums ready to satisfy your inner artist.
But if you are the passionate pigeon who wants to create his own blend of art, read on to learn painting techniques for your textured art canvas.

Painting with Depth: Techniques for Textured Surfaces
By now, you are done with your desired text on the canvas. It is time to introduce colors to your textured art canvas.
Painting a plaster wall art or a 3d wall art has different techniques than painting on a flat surface.
Here, you will need thicker acrylic paints to ensure they blend well with the uneven surface of the canvas.
You can layer colors to create a sense of richness that will let the underlying color peek through.
The color peeking through will create another story!
Isn’t it captivating to bring curiosity to how the colors are so beautifully blended in?
To go beyond the normal you can add the hint of metallic colors or can even use silver/golden paper flakes to add richness to your canvas.
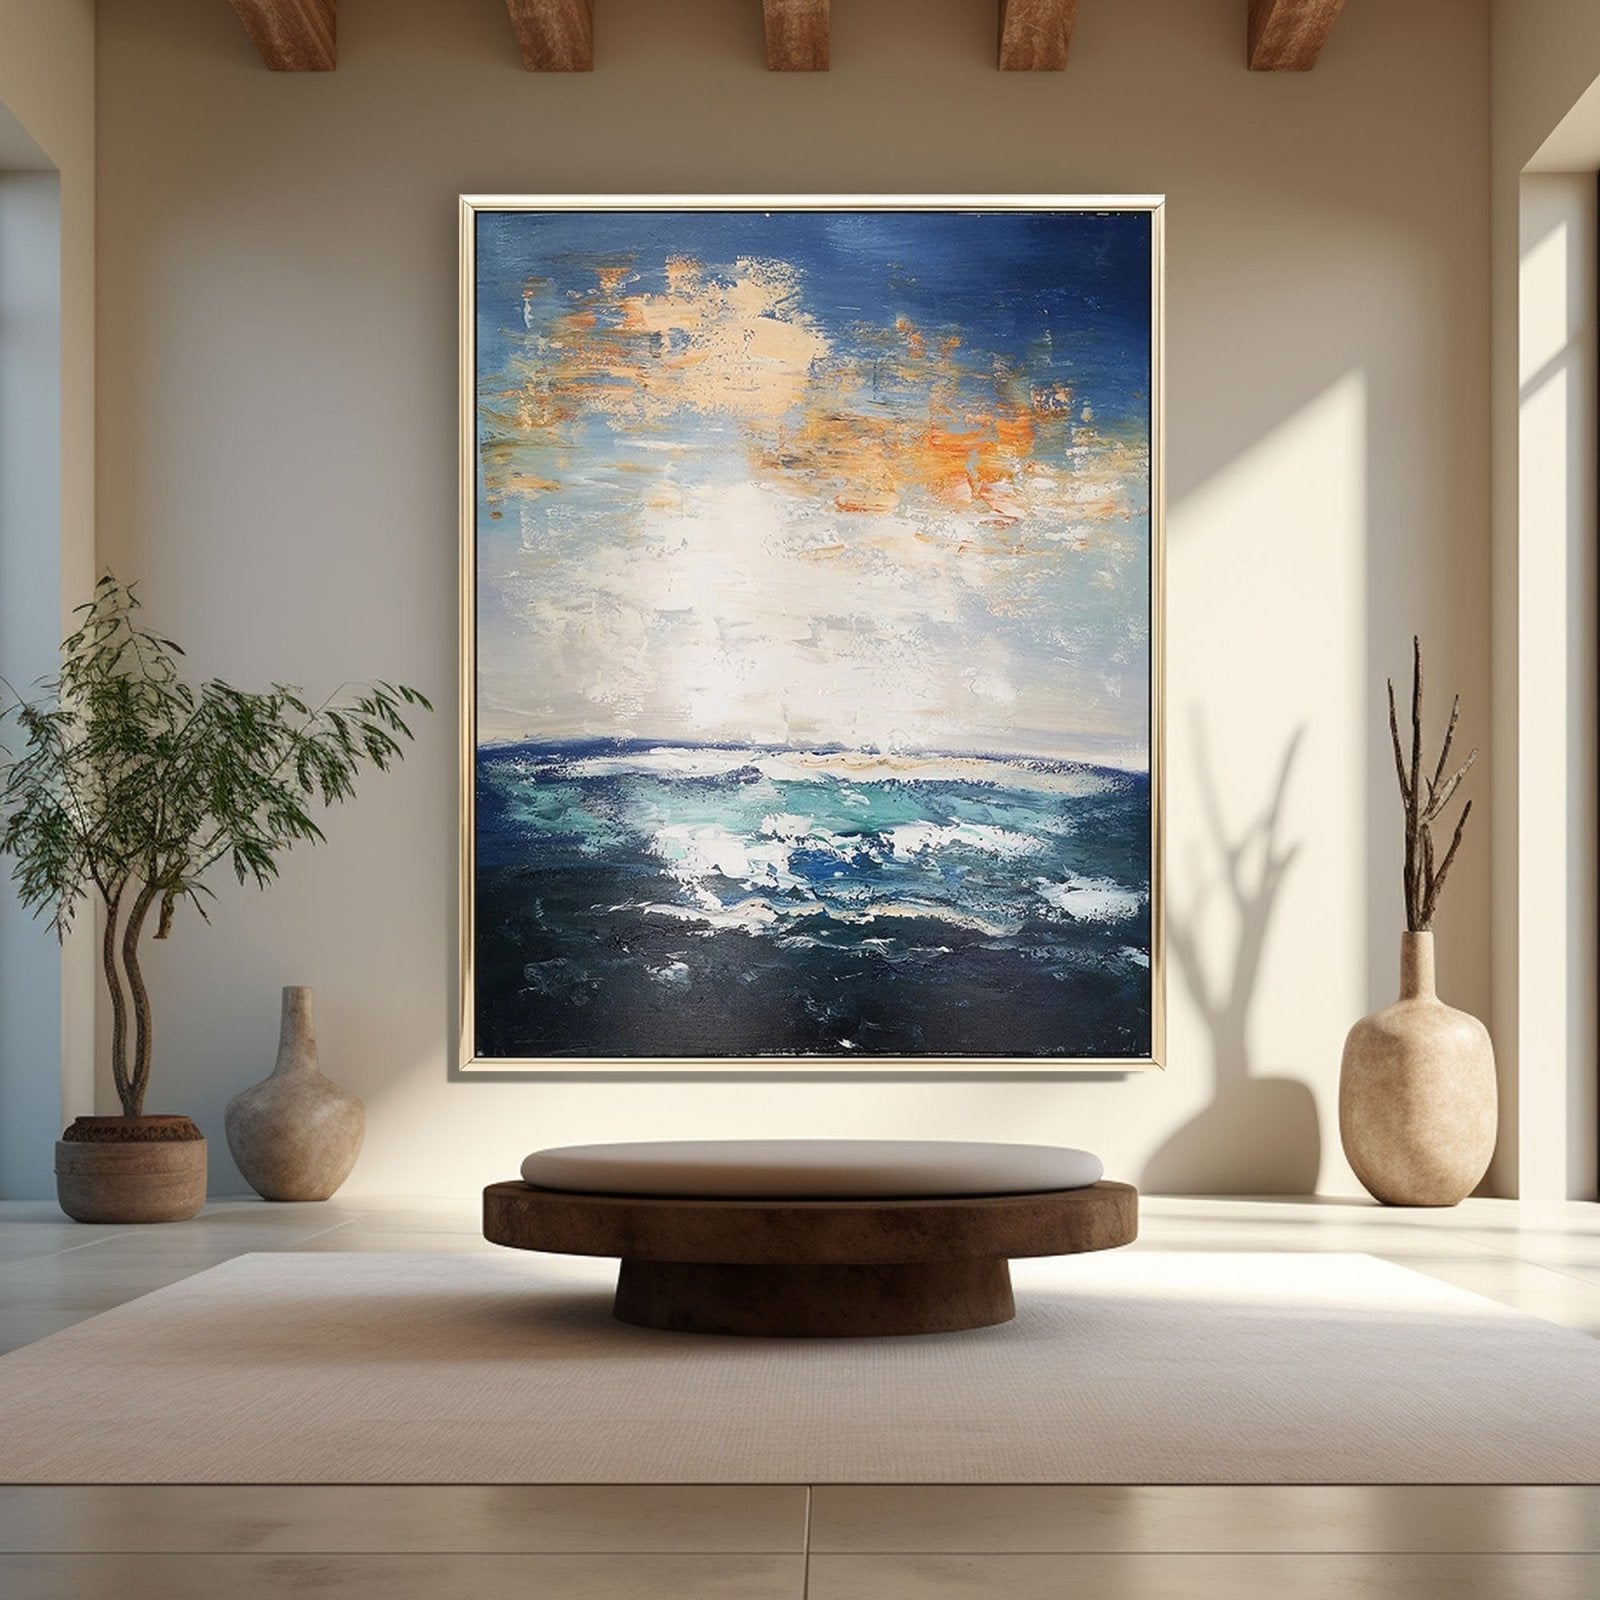
Adding a pearl accent to a coastal wall art will bring originality of the coastal life into your painting.
You can use rich shades of deep blue or aqua to paint the waves of water on the coastal wall art. Use as many ethereal colors to depict sand. Using the original sand grains over the textured canvas can bring the coastal wall art to life.
By now, you have gained insight into how you can use a variety of colors.
The bottom line of painting on a plaster wall art is to blend your creativity mindfully into your art piece. So, the large wall art you are trying your hands on speaks a unique story for each on-looker.
But stop!
Things feel overwhelming.
You don’t have the time or energy to do it all on your own?
Hold your horses!
Time to select a pre-made art to satisfy your nerves.
Read on to learn how to select the perfect 3d wall art for your vacant wall.

Finding the Perfect Piece: A Guide to Buying Textured Wall Art
DIY is not a cup of tea for everyone. Fear not! We have scrutinized art pieces that will curb your textured wall art cravings.
But before you get one large wall art for your wall, here are a few things to consider.
When you are to buy an already-made abstract ocean art or any 3d wall art: pay attention to the quality.
Look for well-established retailers who are known for their quality art selling. You can check the reviews of the customers for guaranteed original wall art.
You can buy from solo craftsmen who have genuinely used quality raw materials in their wall art.
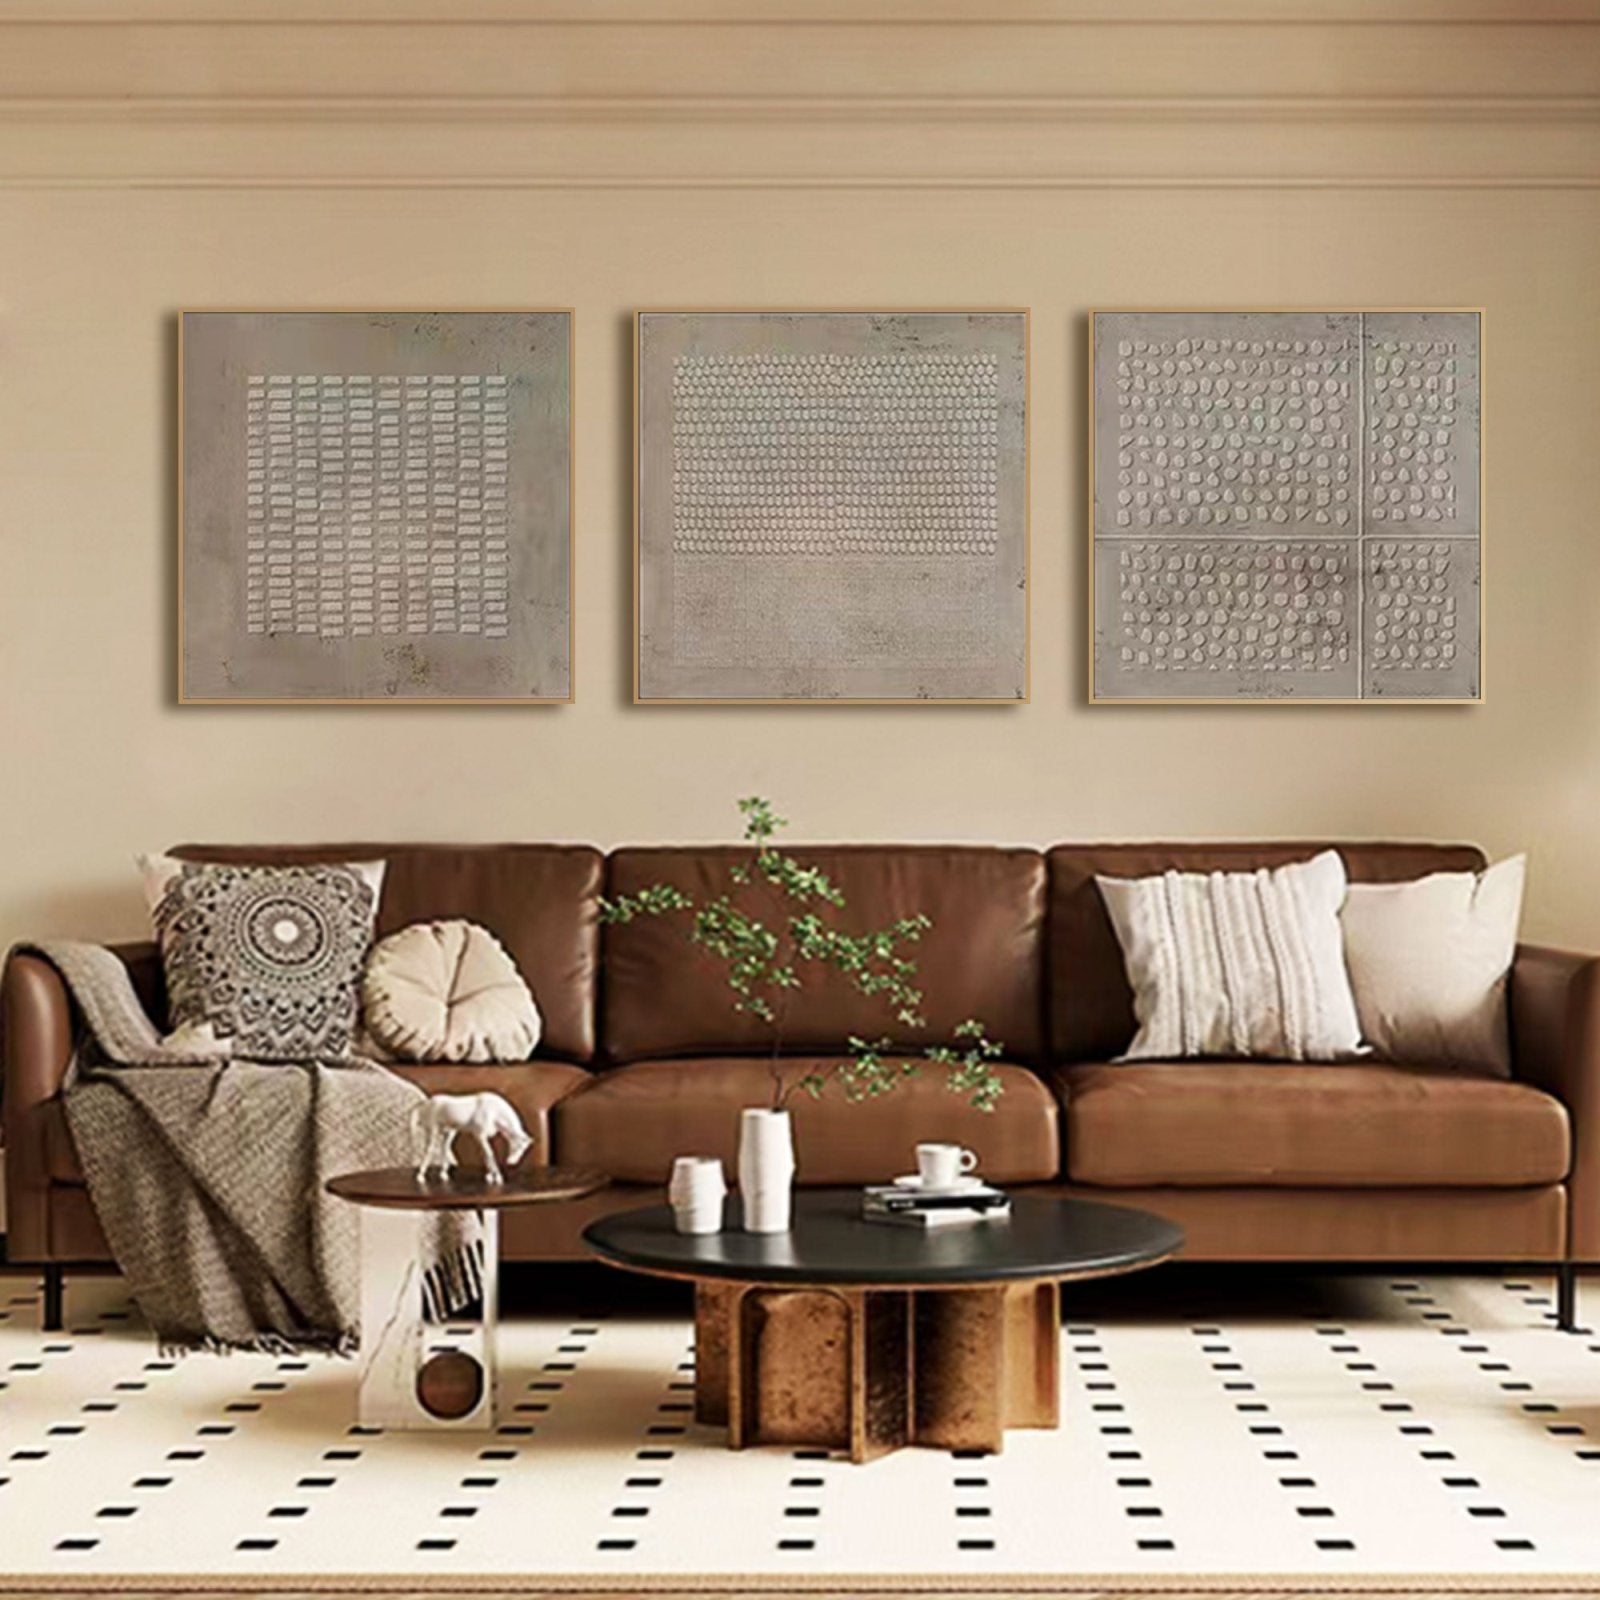
Many online sellers like Nukeart have received remarkable feedback; it is on you to hunt for those and buy a beautiful wall art set of 2 for your living room or serene coastal wall art.
Analyze your space and the theme you want to create from your place to try your hands at buying the best minimalistic 3d art piece to match your personal taste.

Importance of Finishing Touches for DIYing Your Textured Wall Art
But if you are an enthusiast DIYer, then by now, you must have understood how to make the base of your art piece and the color selection. It is the time now to seal those important finishing touches to your wall art.
You must apply a varnish or any sealant to protect your textured wall art. It will help the art stay protected from dust and UV rays. Normal wear and tear is part of the process, but that can also be subdued by a protective layer on top of your wall art.
Either a matte or a glossy finish depends on your art. Select it wisely to complement the art you just created.
Presenting Your Plaster Wall Art: Mounting and Displaying
After all the hard work, it is time to mount the 3D wall art that you painted on a textured canvas.
Blending is the key!
Mount it on a simple and clean frame. So, your art must speak for itself.
Framing your art will create a life without overwhelming it. So better not to use any extra decorative frames. Go for clean cuts and nude colors.
You can try your DIY expertise to create a wooden frame from reclaimed wood to reuse resources to save your planet.
You can hire professional art installers to take heed of their expertise in the field. So you may get a sturdy backing that will help sustain your heavy plaster art stay mounted on the wall.
If you have purchased any wabi sabi wall art from a reputed artist, follow his recommendations to protectively mount it on the wall.

Caring for Your Art: A Legacy of Beauty
If you want your purchased art or the plaster wall art you made to sustain for a longer time, follow some advice.
Avoid hanging it in direct sunlight, as UV rays may damage the pigments of colors.
Dust the surface with a microfiber cloth so the texture may not brush away.
Avoid using air fresheners directly on the wall art as it can cause molds to form due to moisture.
Following these and other recommendations from the artist, you can cherish your art piece for a long time. Always try to buy from authentic online resources. Nukeart takes pride in selling premium quality textured wall art, right the way you like it.
Textured wall art is a great form of art that helps you discover your inner talent in the form of textures you create. You can find abundant 3D wall art on Nukeart. Nukeart is not only a modern way of decorating your space but also brings you close to the elements of nature where imperfection exists. Get yourself a dream textured wall art from Nukeart and cherish it for generations.


