
How To Hang Art On Plaster Walls
Catalog: How To Hang Art On Plaster Walls
- Introduction
- Understanding Plaster Walls
- Tools and Materials Needed
- Hanging Techniques
- Preparing to Hang Art
- Installing Hardware
- Hanging and Adjusting the Art
- Alternative Methods of Hanging Art
- Conclusion
Hanging art on plaster walls can be very challenging. Many people often ask themselves how do I hang the art? How do I prevent the plaster from cracking? Will there be a mess? Will I be able to move the art? Can the hole be patched? There are convenient solutions to all these questions.
Haphazard art-hanging attempts can seriously reduce the beauty of a well-decorated and can lead to unsightly damage. Plaster walls are quite durable, but they are highly prone to damage. Hanging plaster art incorrectly can lead to cracks in the wall or even chunks of plaster coming loose. This compromises the strength or structural integrity of your walls.
Plaster walls simply require more finesse and consideration when hanging art. Using the right tools and methods when hanging pictures or art on plaster walls help to ensure they are secure and come out beautifully without causing damage to your walls. When art is properly displayed on plaster walls, it enhances the aesthetic properties of your home.
Understanding Plaster Walls
Plaster walls are made up of laths that are attached to wall studs before being covered in plaster. Prior to the 1940’s, plaster walls were the preferred option for homes. However, modern homes now mostly utilize drywall panels instead. The reason for the switch was mainly due to the fact that drywalls are easier to install and less brittle than plaster walls.
Plaster walls have some really nice qualities. They feature a rugged and uneven surface which gives your home a stylish look, like those from old times. Drywalls, on the other hand, are flat and smooth, which doesn't exhibit much character until they are decorated with colorful wall art or graffiti art.
Also, plaster walls are thicker than drywalls, which means they have better sound-proof properties. In addition, plaster walls are more contour-friendly and give room for home builders to make curves around their ceilings and wall edges. However, plaster walls have one major downside, which is they are more brittle than drywall and break more easily.

Tools And Materials Needed
There are several essential tools and materials you will need to hang art on your plaster wall. These tools ensure that your plaster artwork remains firmly on the wall, and preserve the structural integrity of the wall. Here’s a list of tools you can use to conveniently hang plaster wall art in your home.
- Measuring tape
- Pencil
- Adhesive
- Painters tape
- Stud finder
- Drill
- Level
- Hammer
- Adhesive hooks
- Wall anchor
Hooks and anchors are best suited for hanging a plaster painting or artwork. Some specific tools that are particularly great for bearing weight and preventing damage to plaster walls include:
- Adhesive Hooks
Adhesive hooks are a very good option for hanging light pictures on plaster walls. They work perfectly for pictures that weigh no more than 5 pounds. To use an adhesive hook, start by cleaning the wall surface with soapy water or cleaning alcohol. Wait for the wall surface to dry and then remove the covering strip behind the hook. Once the strip is off, quickly stick the adhesive hook on the wall and your art is ready to be hung.
- Double-Sided Tape
For art that weighs under 2 pounds, double-sided tape is a very convenient option to use. To use this tool, ensure you thoroughly clean and dry your wall surface before application. Once you apply the tape to your frame, introduce firm pressure against the wall until it is properly attached to the wall. However, double-sided tape often leaves behind blemishes on the wall when removed.
- Plaster Hooks
Plaster hooks, otherwise known as hanging-picture hooks, are great for hanging art on plaster walls. They have a higher weight bearing power and can support artworks of up to 20 pounds. Since it is better to avoid using nails on plaster walls to avoid cracking, use a screw. Screws can penetrate plaster walls without the danger of cracking. Screws also provide better solidity since they will fasten into the lath behind the drywall.
- Wall Anchors
When hanging art on plaster walls, one of the most recommended tools is a wall anchor. Wall anchors ensure that the screws inserted into the plaster wall hold properly and avoid breaking the plaster. The best anchors for plaster walls provide additional support by expanding and piercing into the other side of the wall when the screw moves through the anchor.

Preparing To Hang Art
Here are some step-by-step instructions on how to prepare to hang art on your plaster wall.
Step 1: Select a suitable location
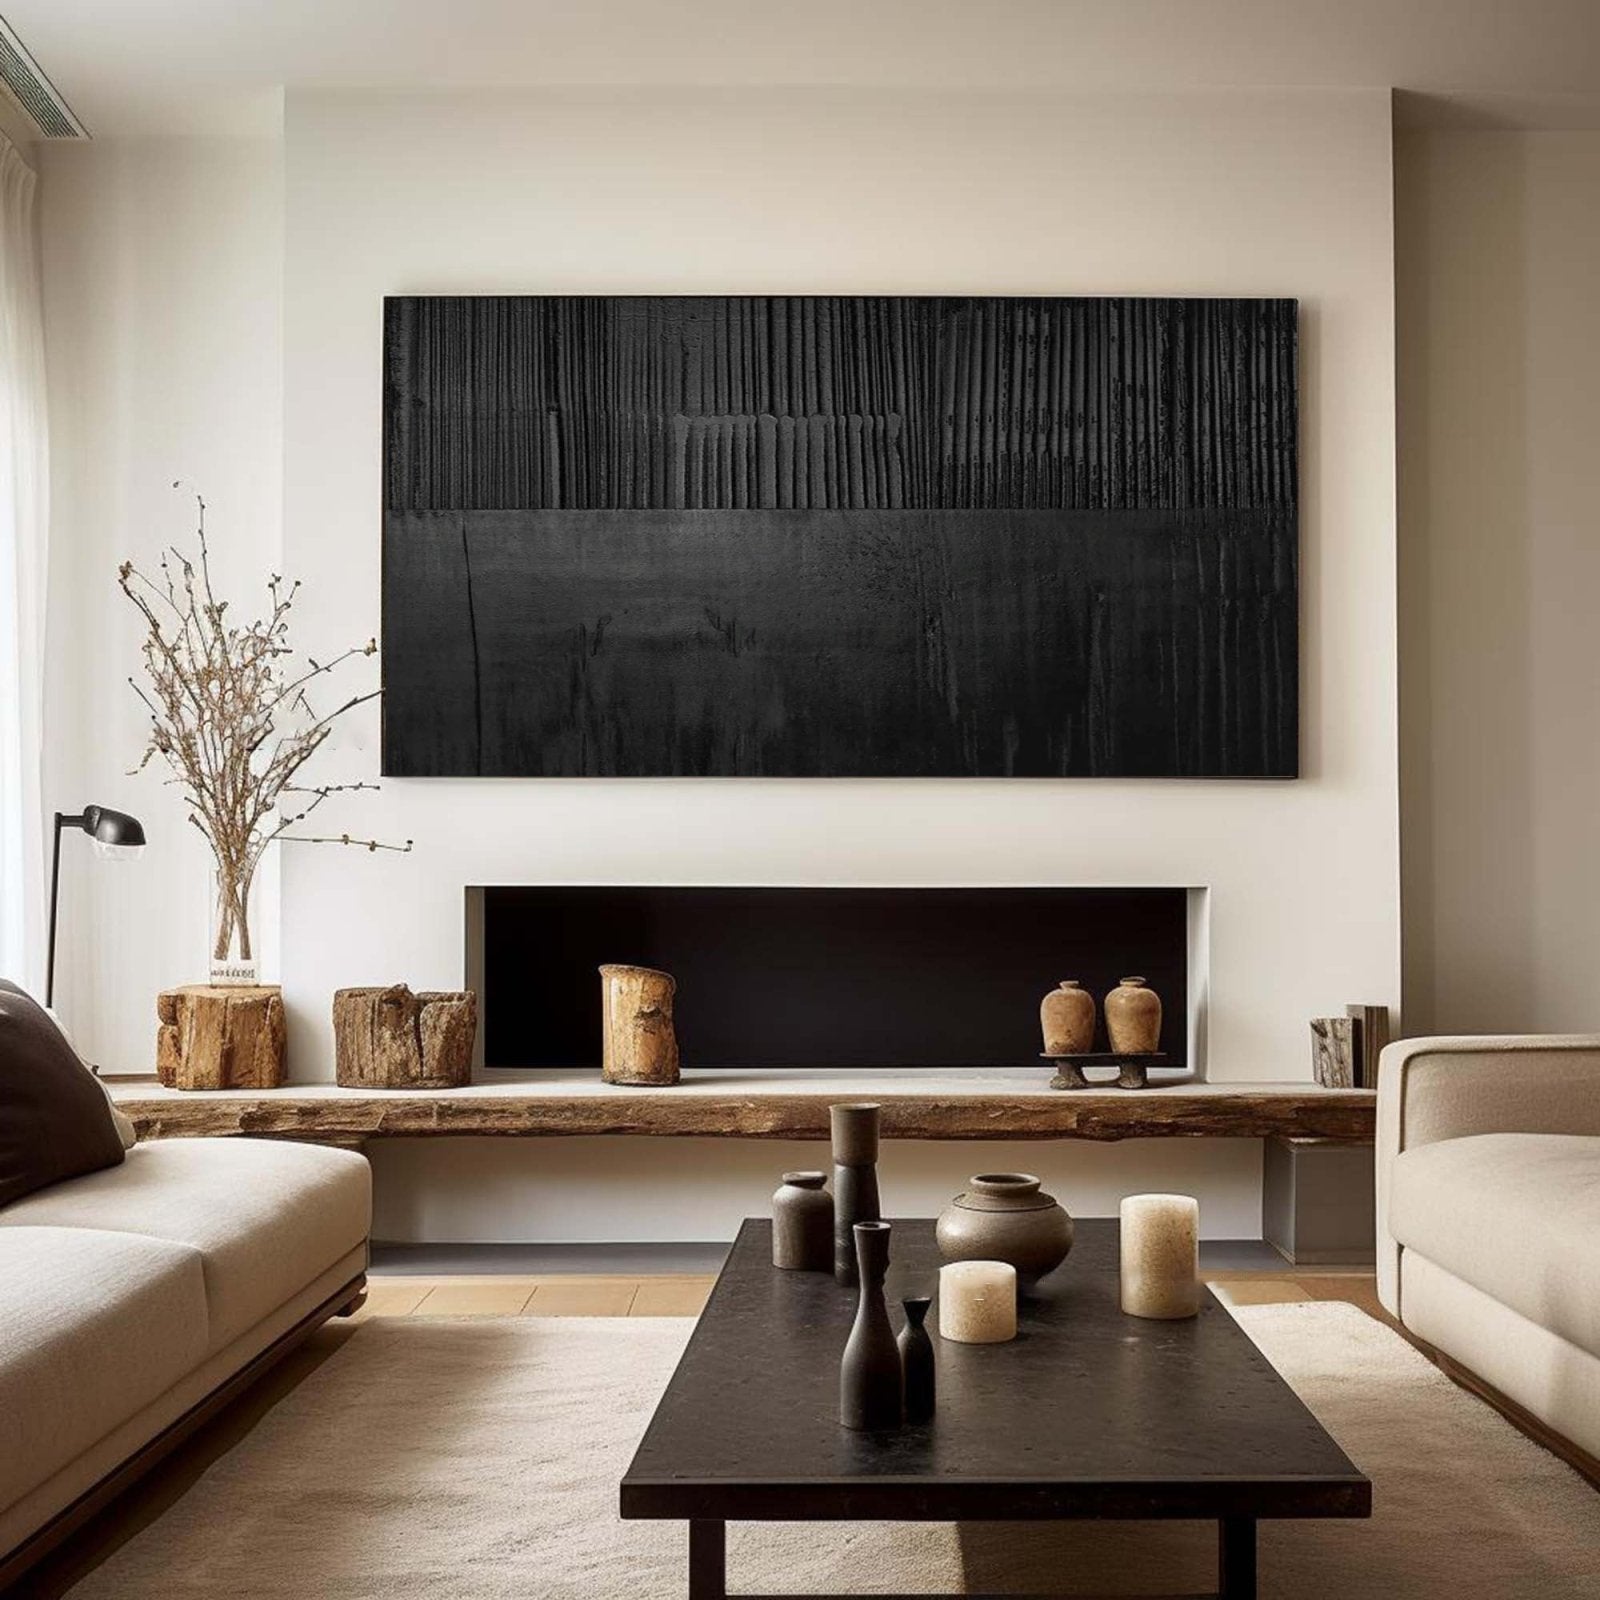
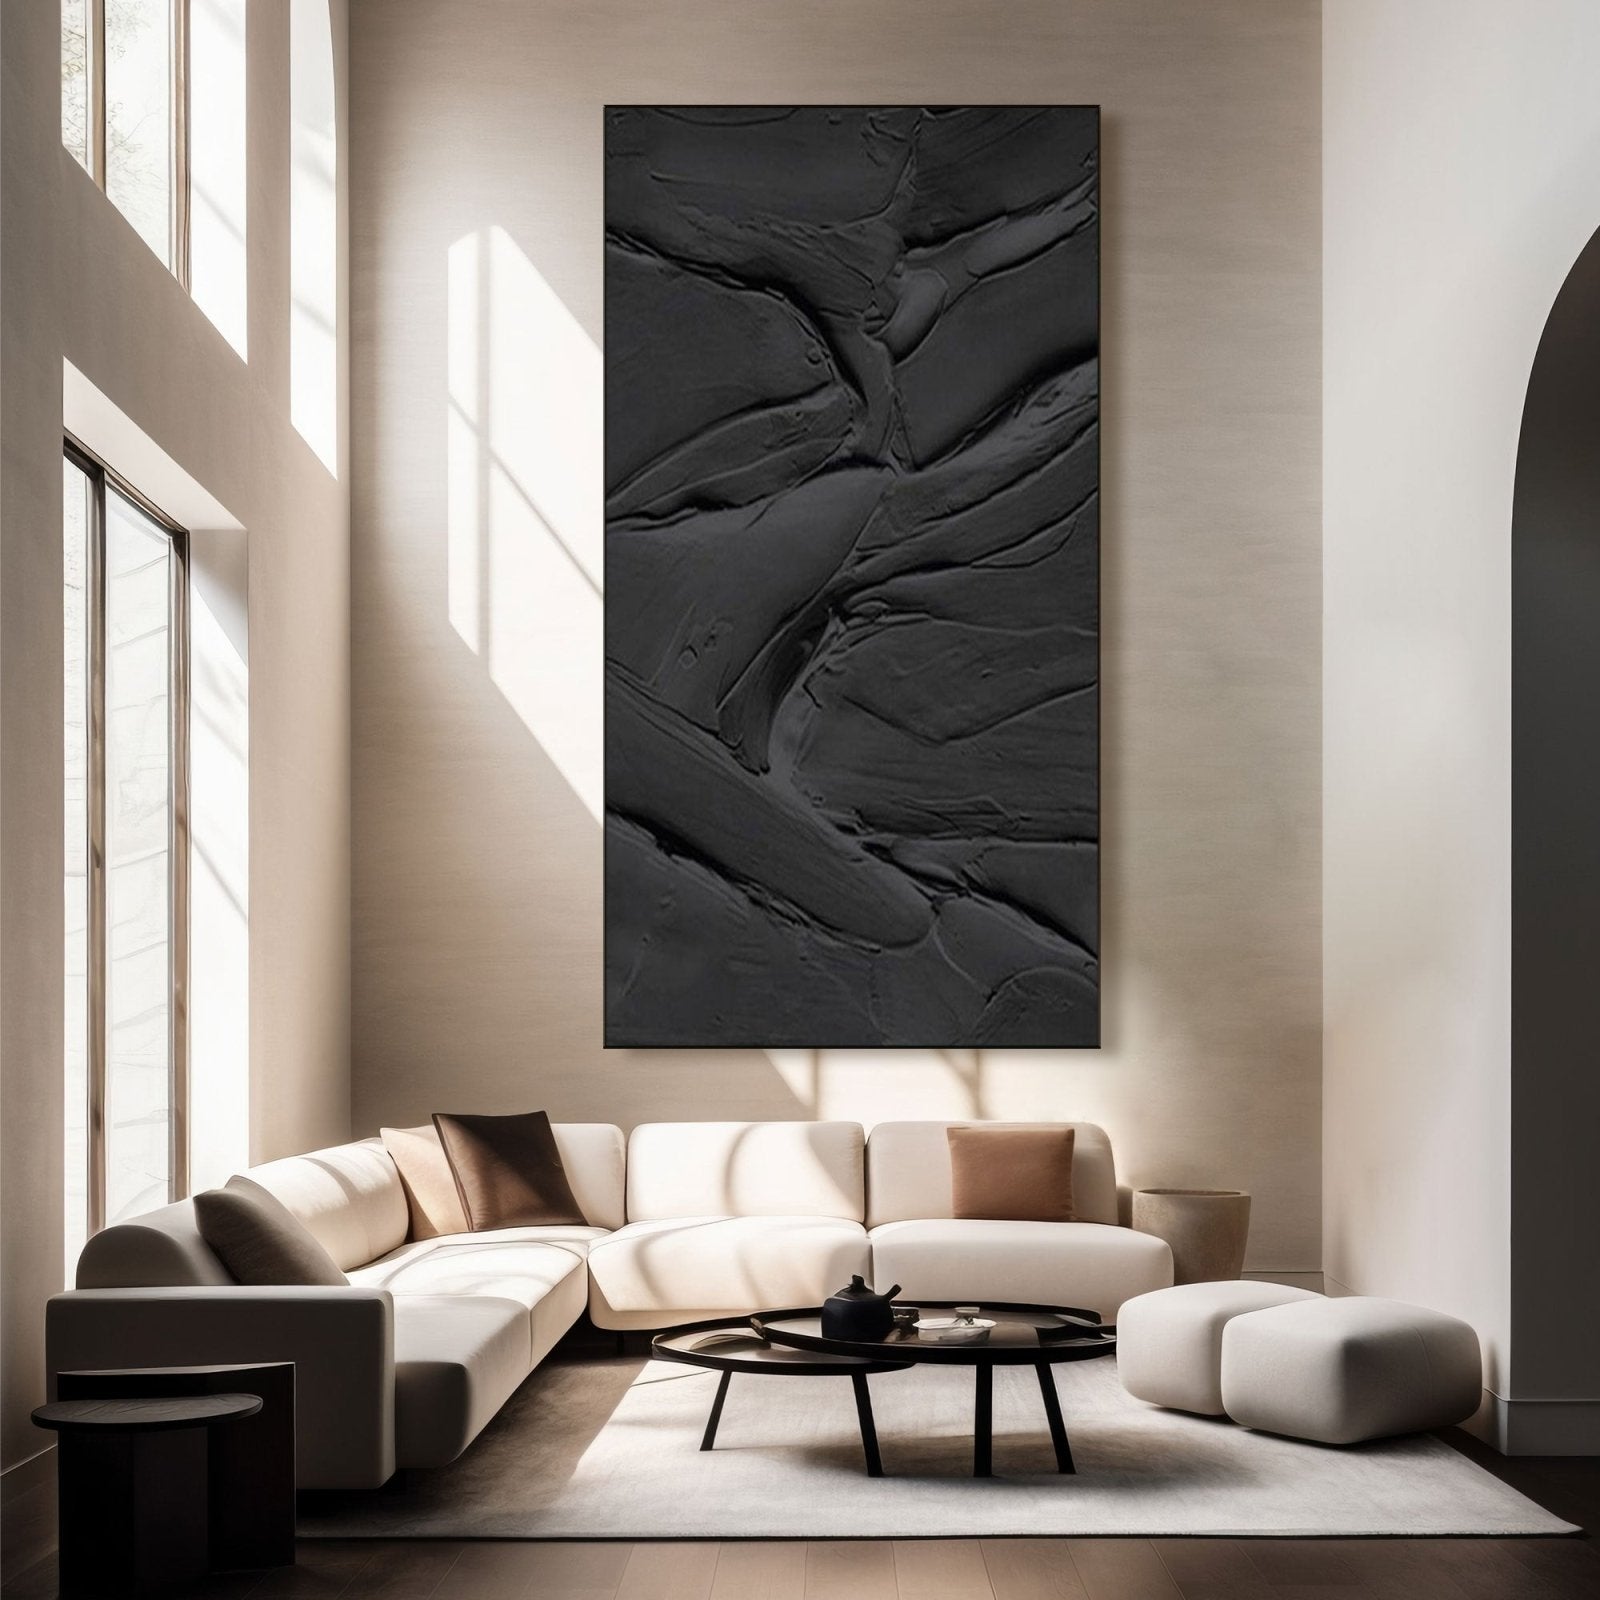
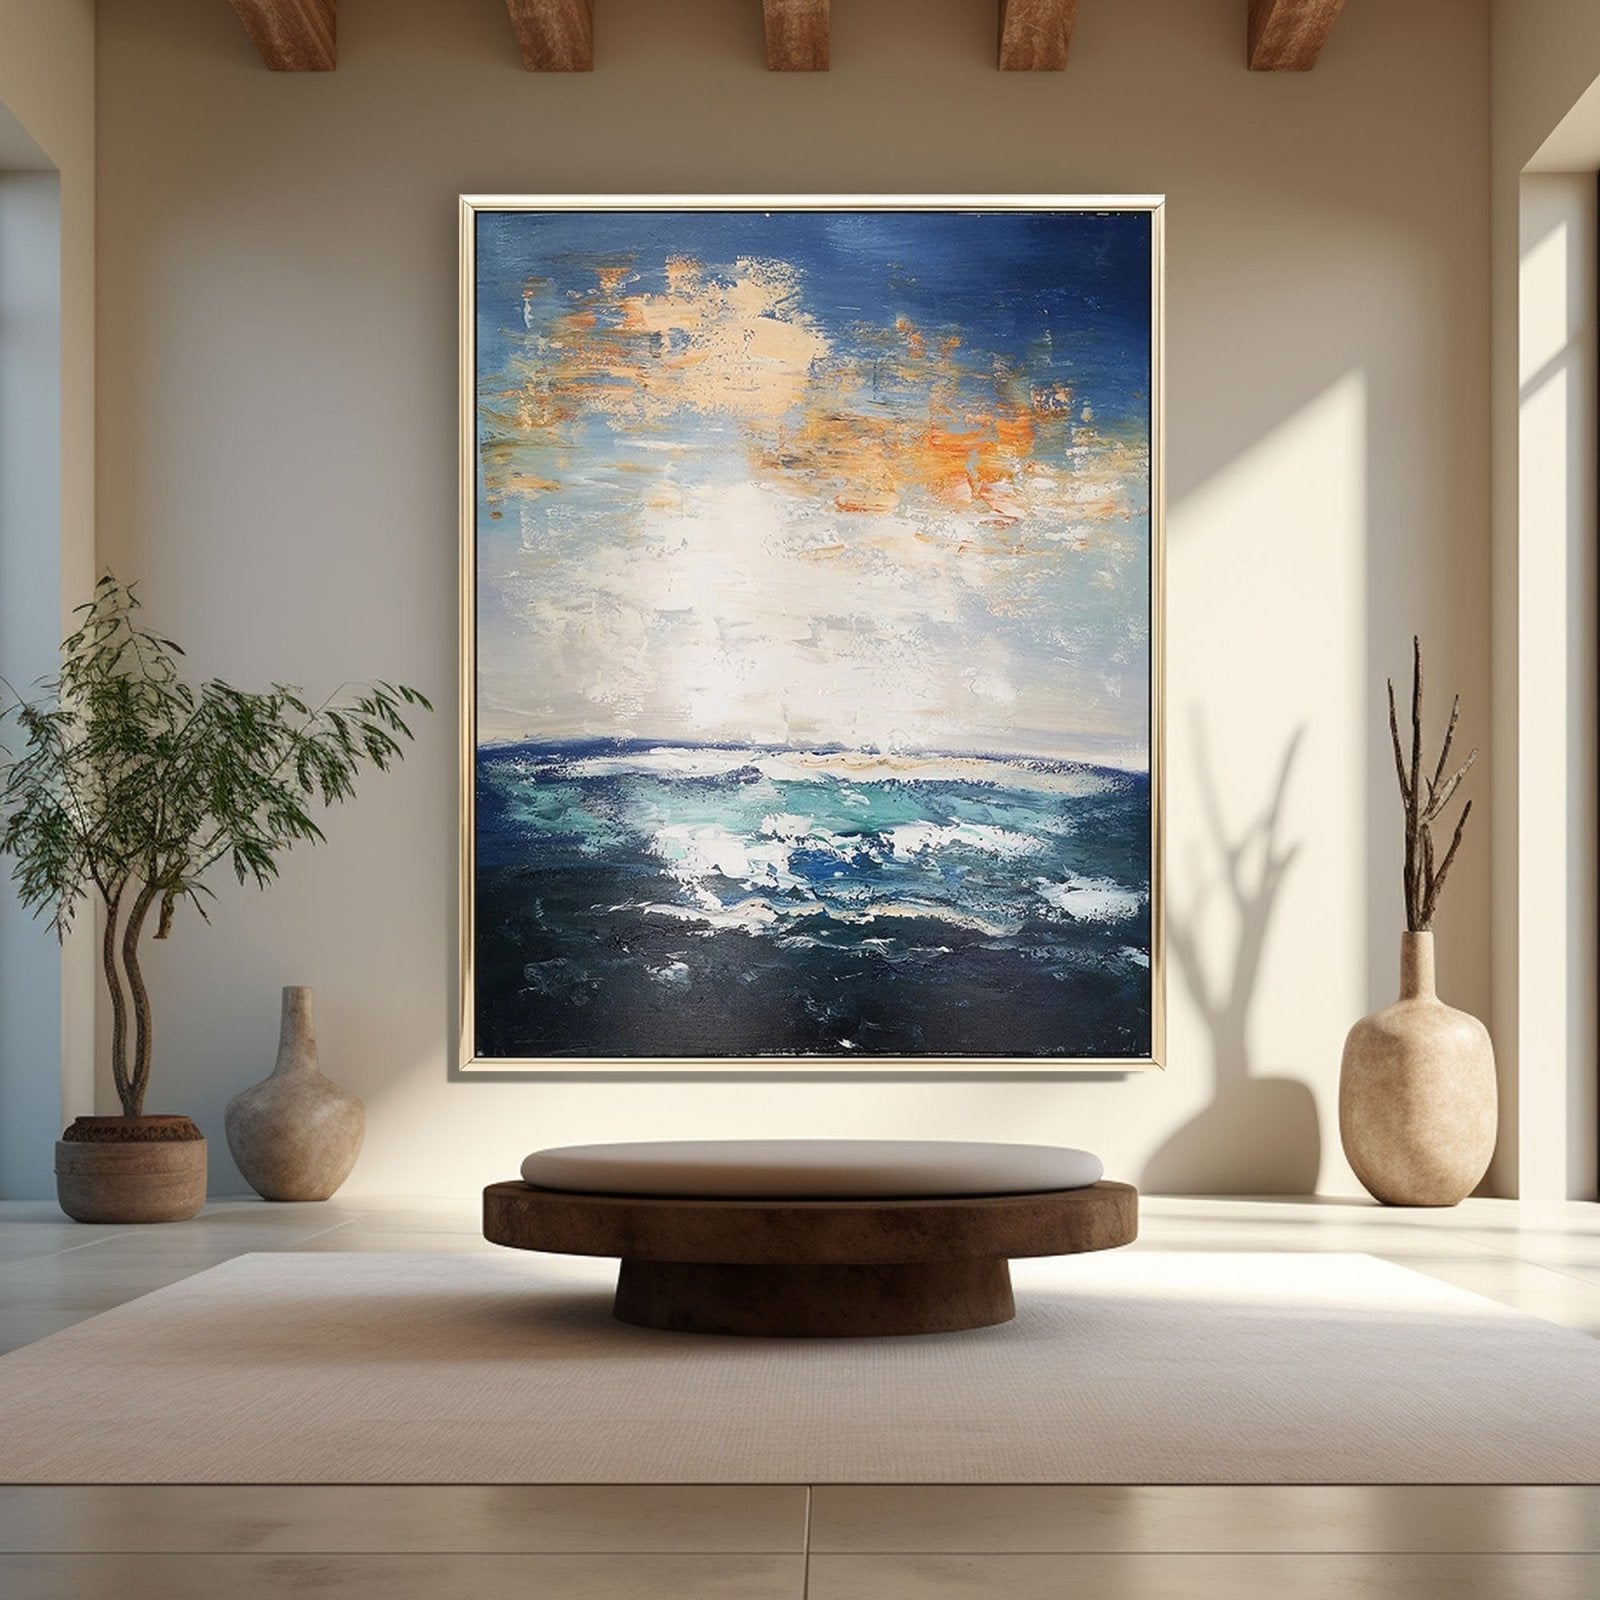
The first step to take when preparing to hang art such as graffiti artwork or ocean art on your plaster wall is to pick a spot where you want the art to be placed. It is often better to find a central position on the wall to place your art, or you can place them above cabinets or furniture pieces.
Step 2: Clean the surface
It is also essential to clean the surface of the spot you have selected before hanging anything. This is to ensure that there is no dirt or debris in the way that can affect your hanging tools. Cleaning the surface also ensures that adhesives stick firmly to the plaster wall.
To accurately measure your wall and to avoid messy markings, it is advisable to use a measuring tape for the measurement, and a pencil to mark the desired layout. This will ensure that the area cleaned is proportional to the art you want to hang. You can also introduce a level to ensure that the lines of your markings are straight.
Installing Hardware
Before hanging art on a plaster wall there are several things that have to be considered, such as the hardware to use and the weight of the art you will be hanging. Art pieces have different weights, and this has to be considered when hanging them to prevent them from falling or even causing damage to the wall.
Tools like double-sided tape are suitable for artwork that weigh under 2 pounds, hence they are not really suitable for art with big frames. Adhesive hooks can carry more weight than double-sided tape, but are only suitable for objects that weigh less than 5 pounds.
Plaster hooks are much better for hanging plaster art than adhesive hooks and tapes, as they can hold up to 20 pounds of weight. This is enough for most art pieces, except those with exceptionally heavy frames.
The best option for hanging art on plaster walls are wall anchors. Wall anchors can carry an immense amount of weight, and provide ample protection to your wall. Using wall anchors ensures that your painting or art piece will be firmly secure, and your wall remains undamaged.
Wall anchors utilize screws which help you drill safely into the plaster wall without causing cracks, unlike nails. Using nails when hanging art on plaster walls can easily lead to cracks or the plaster breaking. Hence it is better to use screws.
Hanging And Adjusting The Art
Here are step-by-step instructions on how to securely hang artwork on your plaster wall.
1. Locate Wall Stud
The first step to take when hanging a piece of art like a kaws painting on your wall is to locate a stud in the wall. This is especially necessary for heavy artworks. Smaller paintings or pictures can stay anywhere on the wall. After you find the stud, use a measuring tape to determine where the screw will go and mark the spot with a pencil.
2. Carefully Drill A Hole In The Plaster
Once you’ve accurately marked the spot where the screw is to pass through, carefully drill a hole into the plaster using an electric drill. Once the drill reaches the layer of lath behind the plaster, it will move more slowly. Be sure to stop drilling at this point. It is important to ensure that you drill in a clean straight line.
3. Hammer Your Anchor Into The Wall
After drilling the hole, place your anchor over the hole and gently tap the anchor till it enters completely. Use only enough force to ensure the wall doesn’t crack, and the anchor doesn’t bend. There are several types of anchors you can use for this part including plastic, fiber, wood and metal anchors.
4. Insert The Screw Into The Anchor
Place the screw into the anchor hole and use a screwdriver to insert it into the anchor. However, don’t let the screw go all the way in. Leave a bit of the head sticking out of the wall. You can also use a drill to wind the screw into the anchor to avoid any breakage from applying pressure to the screwdriver.
5. Clean Debris
Once you are done inserting the screw into the wall anchor, clean up any dust or debris around the floor and wall area. You can simply use a dry cloth to wipe off any dirt on the wall, and a vacuum cleaner to clear the debris on the floor.
6. Hang Your Art
This is the fun part. After setting up the hardware, the next step is to hang your painting on the wall. To do this, place the loop at the back of your artwork on the wall screw sticking out of the wall.

Alternative Methods Of Hanging Art
There are other methods you can use to hang art on your homes’ plaster wall. Alternative methods for hanging art on plaster walls include the use of adhesive hooks and hanging strips. They are less invasive methods, however, they often have limitations such as weight bearing and blemishes after removal.
To learn more about methods of hanging art on plaster walls, check out our website.
Conclusion
Hanging art on plaster walls might seem as a challenge at first. However, with the right tools and techniques, you can easily place your surrealist paintings and other art on your plaster wall without much hassle. If you want to put up art pieces such as a beach painting on your homes’ plaster wall, you can follow the guide we’ve provided to ensure your painting is secure and the safety of your wall. Feel free to drop comments on your experience.


