How to Create 3D Wall Art
Content:
Conceptualizing Your 3D Wall Art
Sketch Brought to Life
Time to Gather Materials and Tools
Preparing the Canvas
Arranging the 3D Elements on the Base
Adhering and Painting Your 3D Wall Art
The Finishing Touches
Conclusion
Ever felt like your walls stare at you…blankly? May be your walls are lacking the personality they must carry. How about giving a 3d wake-up call to your walls! How about if you learn how to create 3D wall art? If, in this era of personalizing your living spaces with modern and aesthetical touches, you are not managing to get the desired wall art for you, let’s try the beyond-ordinary.
Flat art is no longer a charm. 3d wall art brings a focal point immediately, and your walls start talking instantly. You can create a 3d wall art - all by yourself. No dreams! Come on with me; let me take you on the adventurous journey of learning how to create 3D wall art. Don’t despair; if you are not a DIY guy, I have the fabulous 3d art unfolded here for you to buy directly from the NukeArt shops. An amazing collection of 3d wall art waits for you here. Explore the range if you don’t want to create your own. But still persistent, hang on! We’re going to learn the most appealing 3d wall art. The good thing is you will have your hands on the best creation that will come out of your hands.
Conceptualizing Your 3D Wall Art
Long have we adorned our walls with landscapes and portraits of abstract or physical arts? No doubt the 2D art has its own brilliance. While engagement has dropped in those pieces, 3D has brought back a new captivating charm.
Plan & Design Aforehand
Before we hit the canvas with strokes of our creation, it is time to plan and design our rough sketch. The process of sketching and planning is an important aspect where we manifest what our 3D creation will loook like or have to look like. All the time you spend on thinking and planning plays a crucial role in practicing the art itself.
Tips/Inspiration to Select Your Theme.
Introspection is a crucial part where you let yourself know how you will visualize your theme in reality.
Ask yourself these little questions to ignite your mind and bring the theme out of it.
- What story do you yearn to tell through your walls?
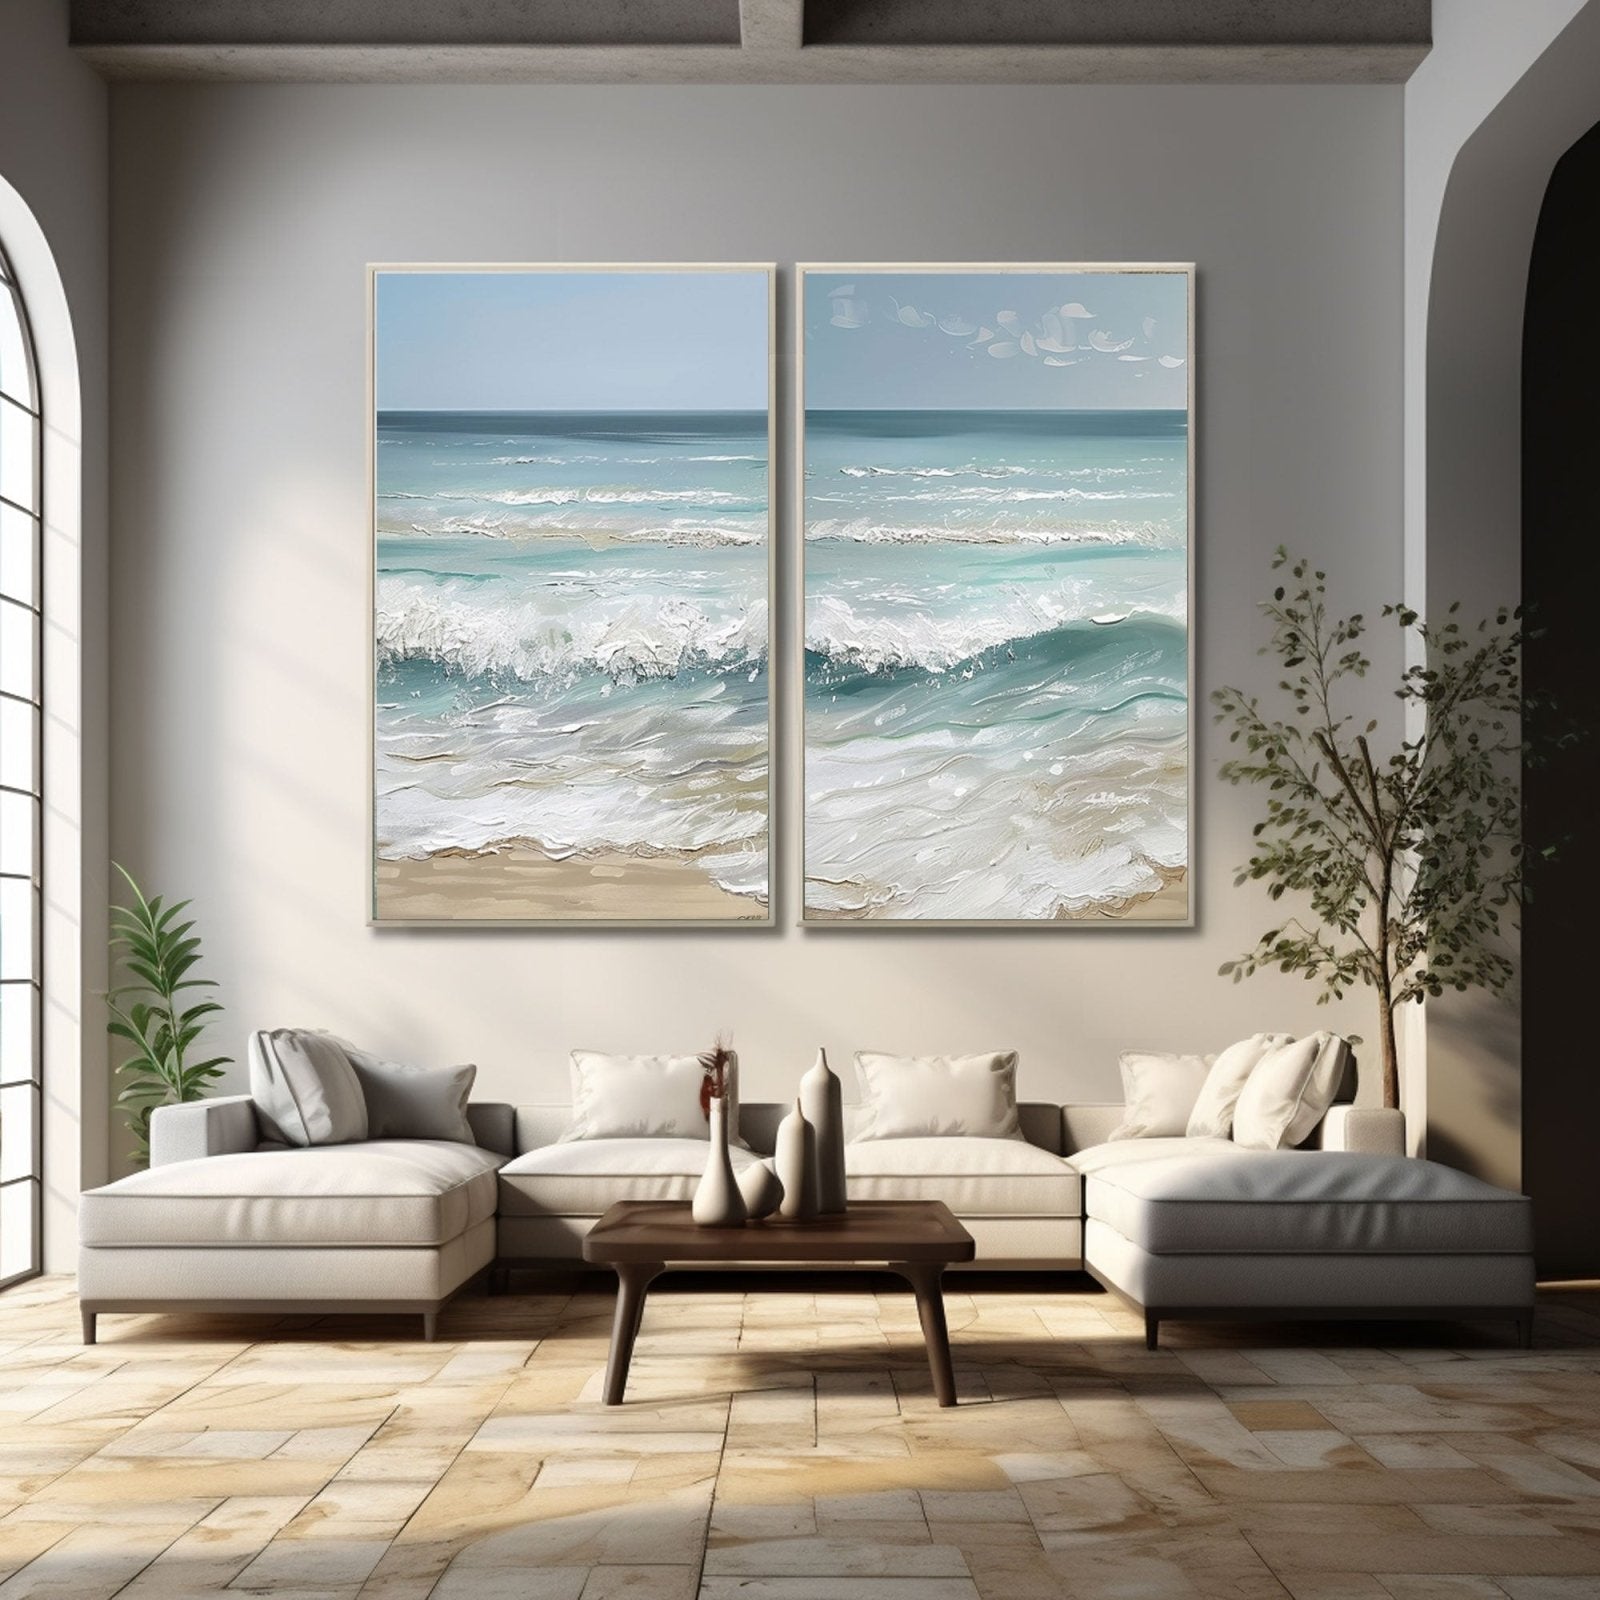
- Do you crave something as tranquil as waves splashing to gently tell the whispering tales of the ocean by creating abstract ocean art?
- Want to create clean lines for abstract desires?
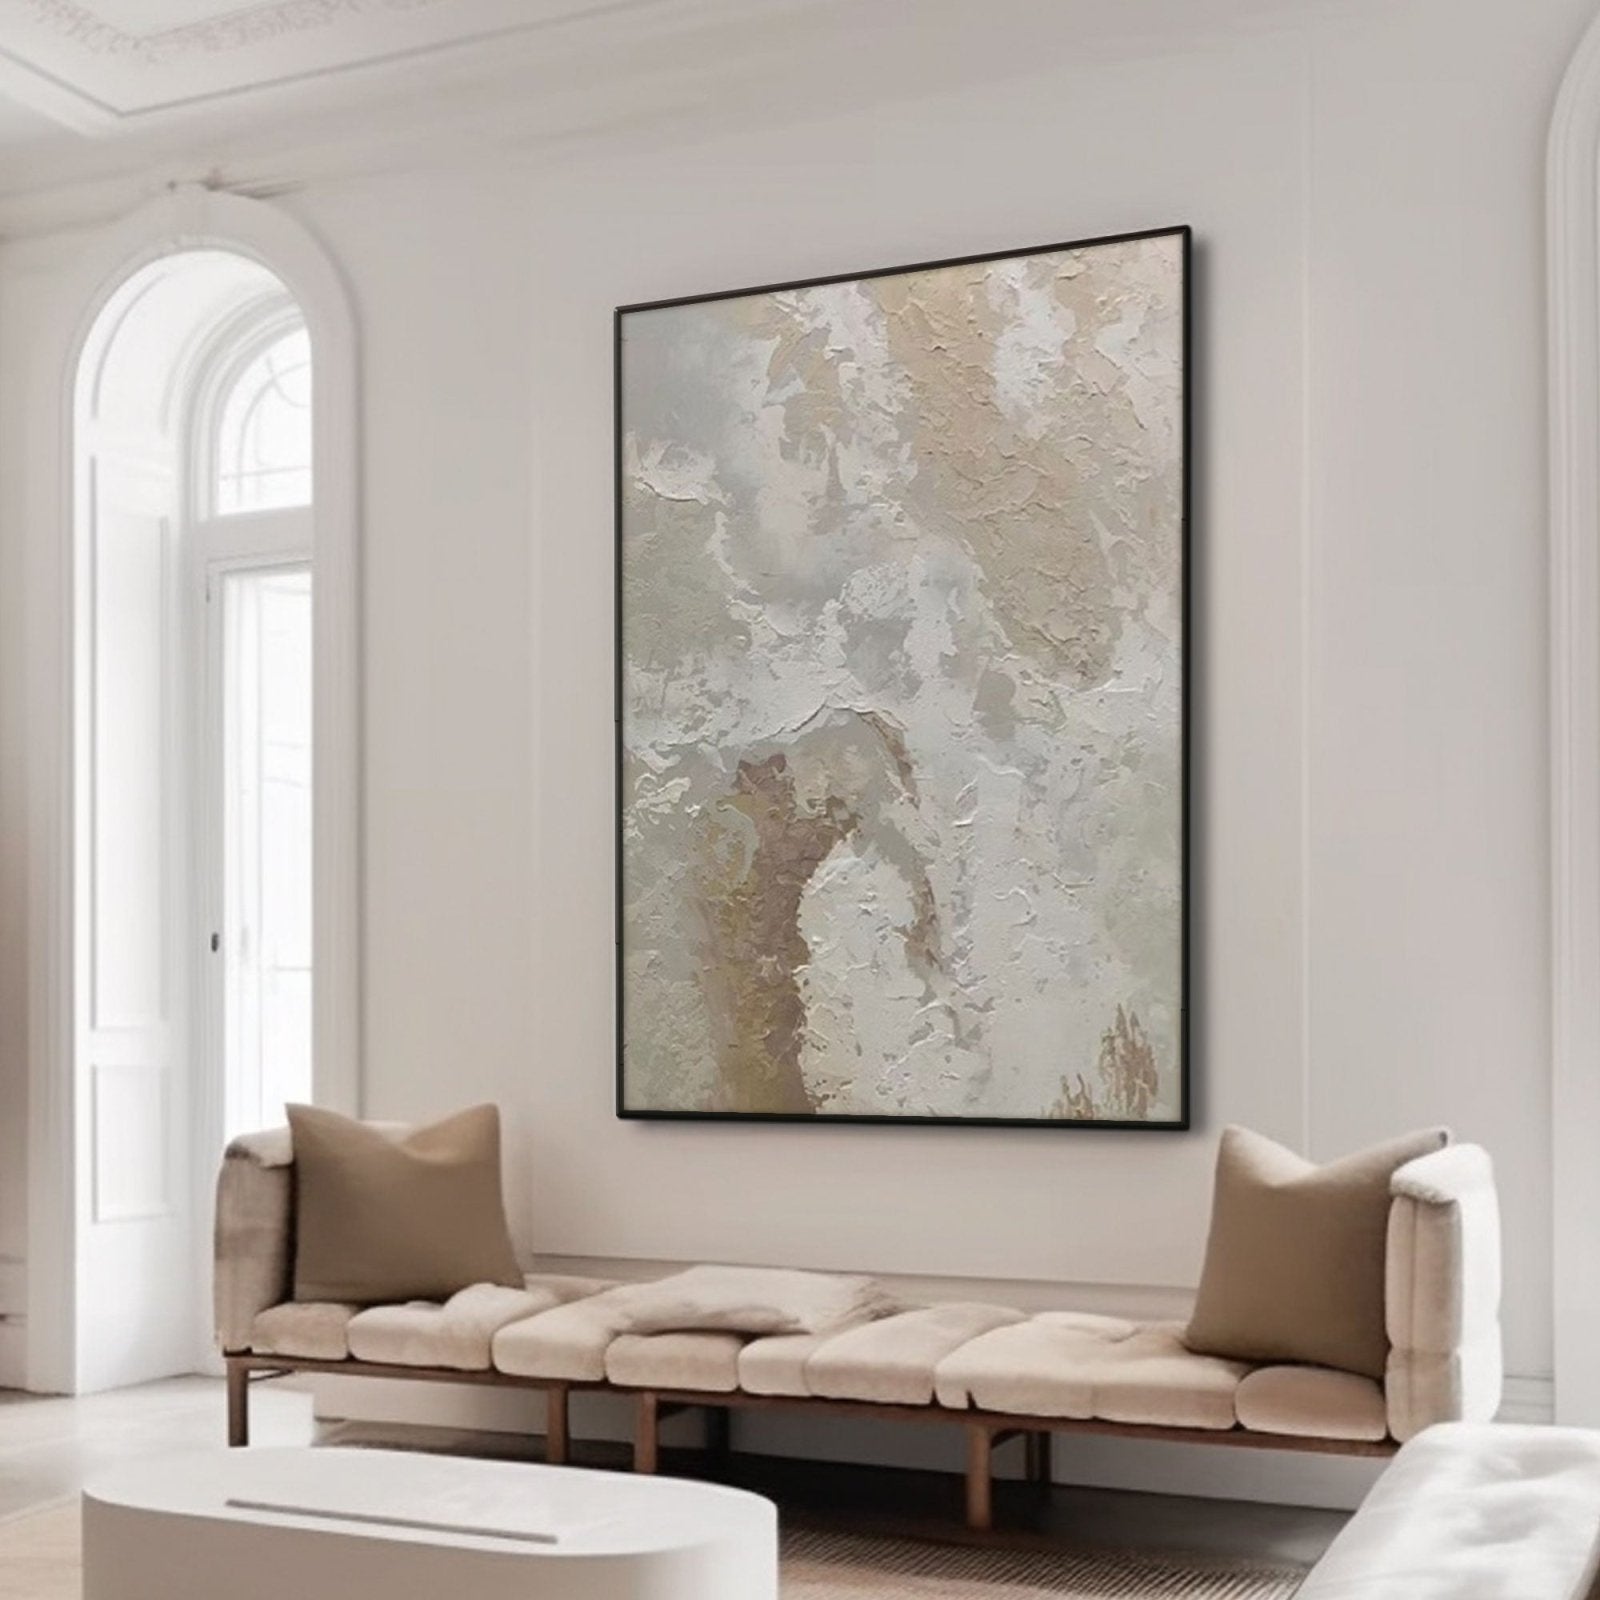
Whatever shade it is, you explore the possibilities of having your theme come true through the elegance of plaster wall art. Sometimes, just a black-and-white 3d abstract piece can do wonders.
Sketch Brought To Life
With a theme chosen, the mind has the direction to ignite creative fires. Visualize each aspect of the 3d art and sketch it on the canvas to act as a rough sketch. Let’s get creative. Grab a pencil and a paper to sketch your ideas on it. Think about where you want to place the 3D elements and how art is going to add depth to the art piece. You need not worry about getting perfect here – it is just a rough draft!
Starting points can be any messier. But let your mind bring imagining and let your hand do the sketching of anything sparking in your thoughts. Later, you can finalize what aspect of the art you can work on. It is the right time to sketch each detail — be it minor or significant. Visulaize and create both side by side to integrate a seamless integration of aesthetic existence.
Never be afraid to experiment. Get as much creative as you want your art to speak on that lonely wall.


Time To Gather Materials and Tools To Create Your 3D Wall Art
You will need some essentials to gather your materials and tools. Though not so extensive this list will help you gain an idea of what material is essential to create a 3D wall art. Most items can be accessible through a local art supply store or online.
Base Material
Canvas. For the base, you need to have a sturdy canvas. Choose the size you want.
Wood Panel. It adds warmth to the artwork, plus it creates a natural texture to your artwork. You need to select an unfinished wooden panel in the size you need. A budget-friendly option is to use plywood.
Thick Cardboard. You will need this if you want to try 3D art as a beginner and you do not want to spend money on an expensive base. It can still work as a base for holding the art upright.
Remember, this is for beginners only.
Materials for 3D elements.
Wood cutouts. You can use the wooden cutouts in any shape to give the 3D effect. Cut it in any shape or use a pre-cut woodcut.
Foamsheets. These are perfect to add playful magic by creating pops of dimension to your artwork. It can be colored and cut easily in any shape.
Air-dry Clay. Use this to create any 3D shape you want to hang for your art. You have the liberty to create any whimsical shape. Select from a variety of clays available. You can get the one you like and suits your needs easily.
Paper Mache. It is indeed an ancient yet reliable 3D effect. You need newspaper, white glue, and water to create lightweight 3D elements for your 3d wall art.
Materials to Secure Your Creation
Adhesive. You can never compromise on an adhesive. You need to have undoubtedly right glue to stick your 3D elements to the base. No compromise on the quality here. Select a strong glue. You must get the glues separately that are needed for securing your different materials.
Materials for Painting.
Acrylic Paints. Get your hands on quick-drying paints. Choose the colors you need, and you can never go wrong when you have a pre-planned theme in mind.
Paint brushes. Choose a variety of sizes in brushes to tackle the minute and larger areas of paintings.
Additional Tools
Though not limited, you will need these with you so it becomes easier for you to start on the project.
●Pencil and paper.
●Scissors/craft knife.
●Sandpaper.
●Ruler.
●Varnish
You can find inspiration in NukeArt’s curated collection of 3D wall art pieces. You can find stunning black-and-white art here. Or any art piece with a wall art set of 2 walls on the site. Get a wealth of inspiration from NukeArt’s massive range of 3D art.
Preparing the Canvas
Now that you have everything ready, it is time to prep the base. A strong base goes a long way.
If you are using a wood or canvas base, ensure it is smooth. You can use sandpaper to even out any rough edges in the base. Add a coat of primer that acts as a great support to perform better adhesion to the canvas. It also brings a uniform backdrop. You can have multiple layers of primer to get the right canvas. Dry each layer or primer before spraying the next.
Arranging the 3D Elements On The Base
Since you have selected the 3D elements in the designing phase, now it is time to have them placed on the canvas. You are only placing the elements on the base. No glue is needed at the moment. Mere placing and replacing the elements will help you give a view of how they look.
Remember, patience is key!
The placement of 3D elements is like plucking the right strings of Violin. The right placement creates a harmonious balance. For an overall flow, consider the classic 3*3 grid approach.
Divide the canvas in 3 by 3 and make the intersecting lines your focal points. It is not necessary to follow any rules, though. You can be as creative as you want. Sometimes, asymmetry can become an engaging focus in the 3d wall art.

Adhering And Painting For Your 3D Wall Art
Now that you have finalized everything, it is time to transform the creative power of colors into your art piece. The right adhesive is paramount for sustaining your 3d elements onto the canvas. Use individual glues to the right pieces. A secure bond is necessary. Give proper time for the glue to stick. Follow the “No Rush” policy here.
Ensure each piece is perfectly glued to the base.
Tips to Select Colors.
- For black-and-white canvas art, you can use a monochromatic palette with subtle variations in tone. The tone variations will act magically. It will create a sophisticated transition of colors to make the art engaging.
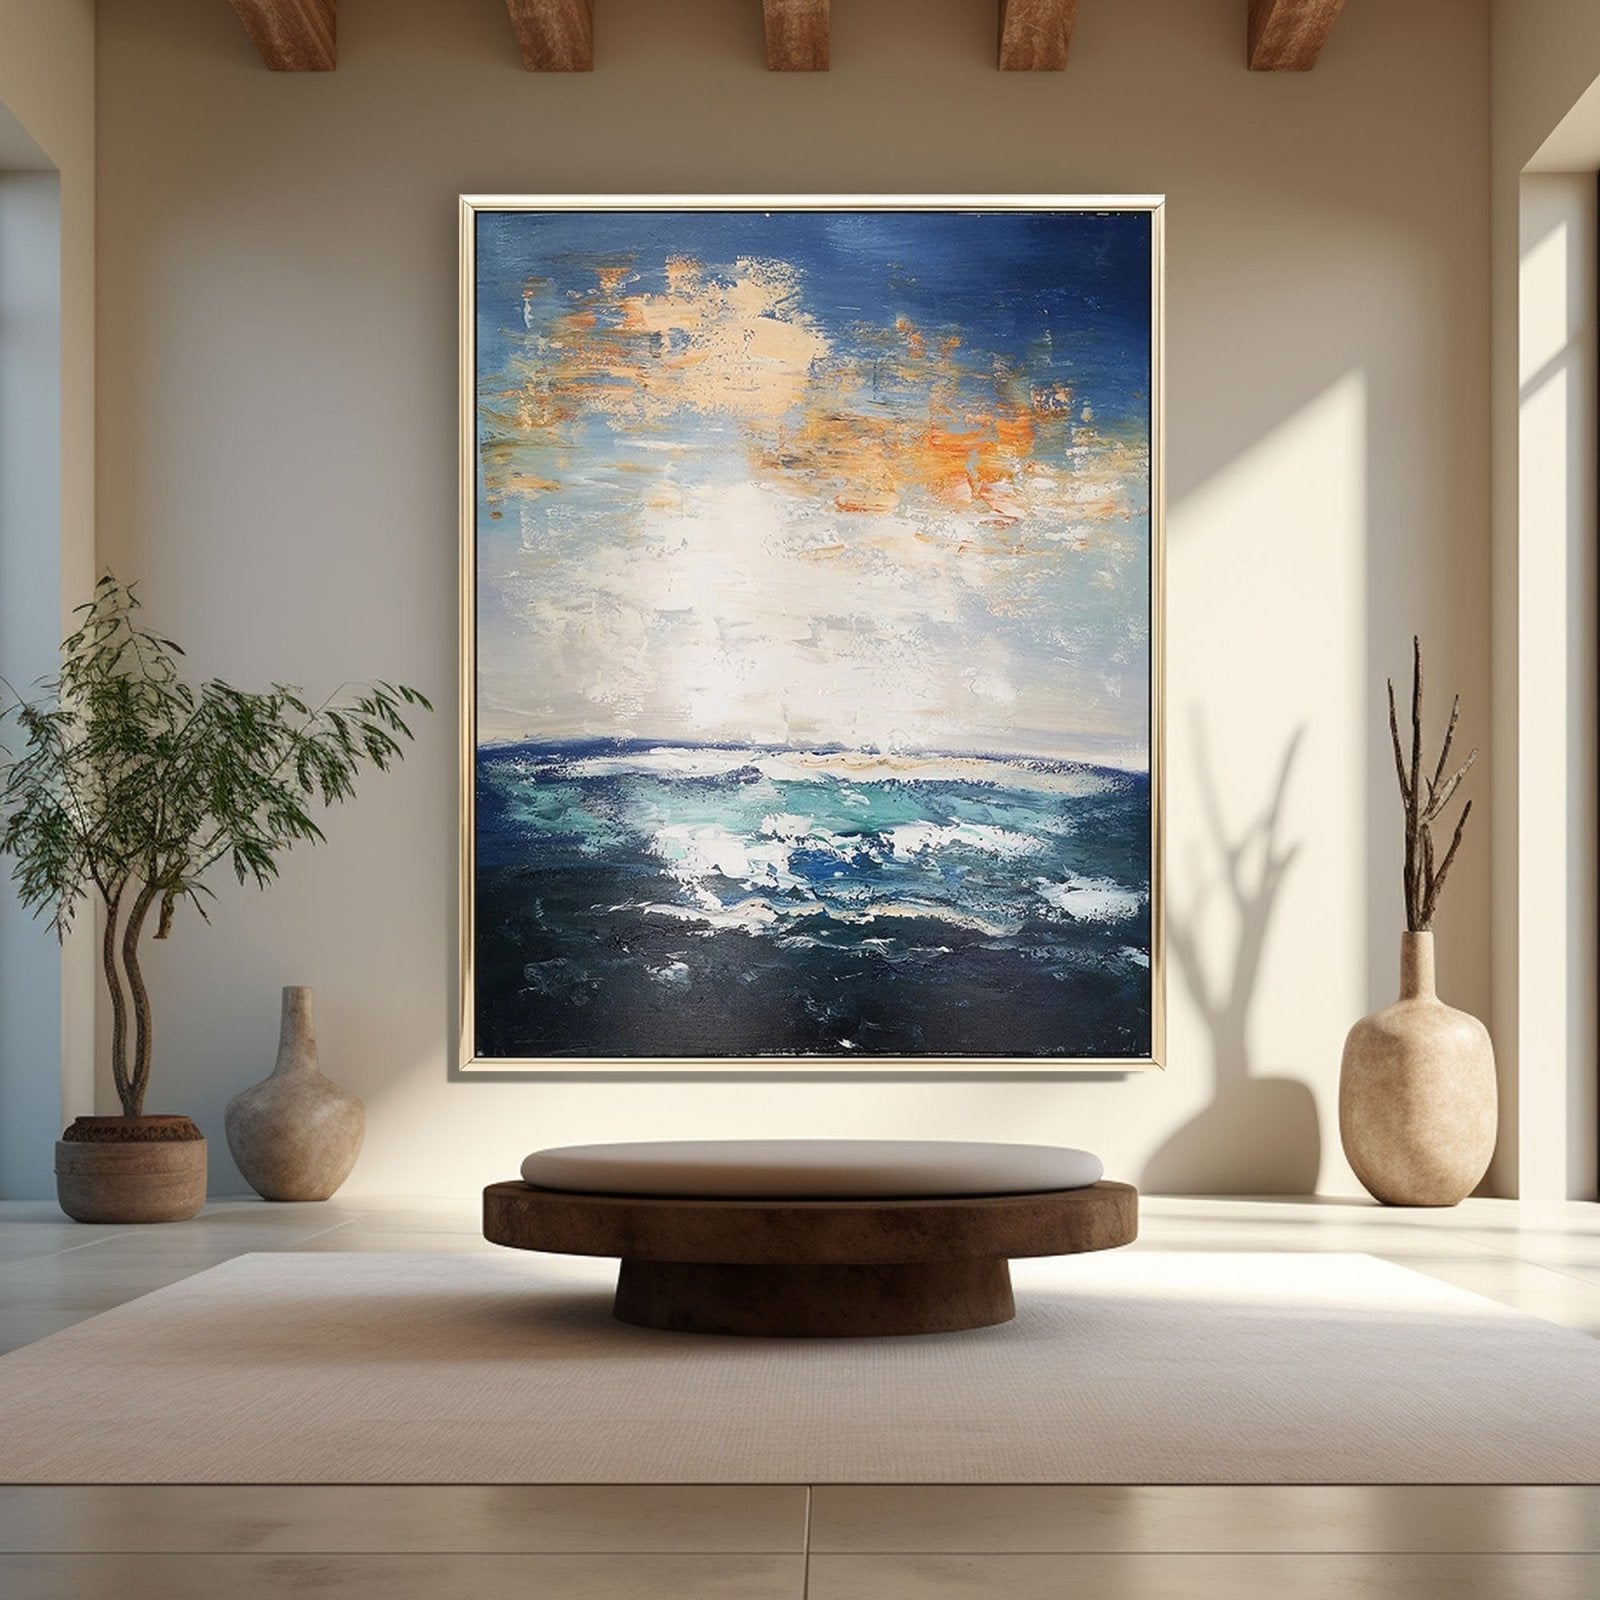
- Contrary to the black and white canvas, you can add a pop of colors to highlight the flat and raised surfaces.
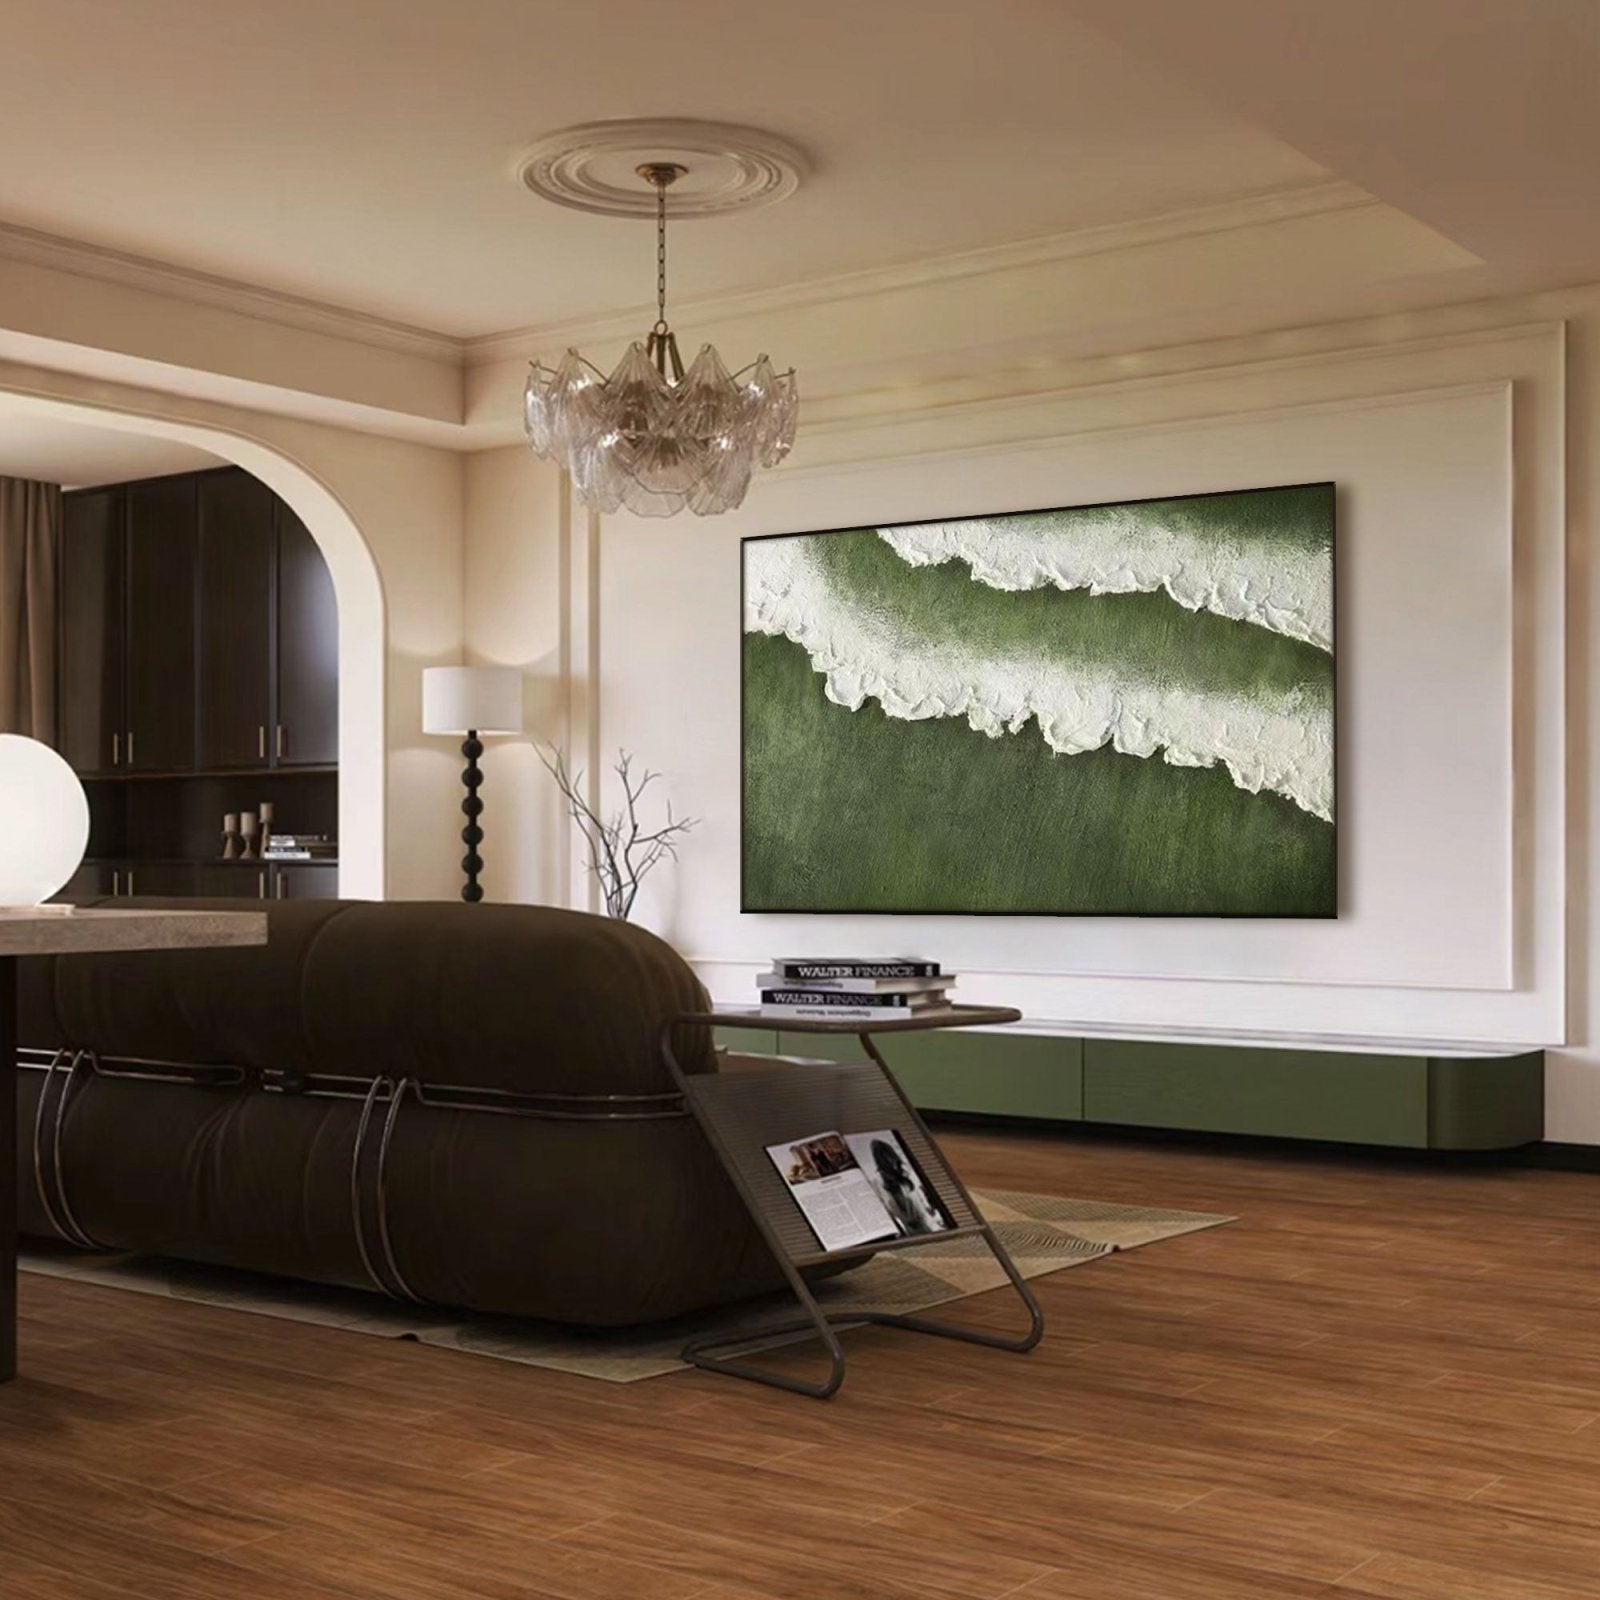
- You can add shades of blues and greens to paint coastal wall art.
- While for wabi-sabi wall art you can use a natural color palette.
- You can use the earthy tones of brown/beige and muted green to create textured plaster elements.
- Different lighting options are crucial in bringing depth to the art. Create a blend of light and dark colors to create a light depth to textured wall art.
The Finishing Touches
Since you have completed the major artwork, the finishing touches are critical. These can enhance the beauty and longevity of your 3d creations. Using a varnish spray can help you keep your art saved from dust and micro scratches. You can add any decorative element to your frame. Maybe placing light over/under the frame can enhance its visual appeal.
Conclusion
When you have finished the process, a sense of accomplishment runs in your blood. It completely washes you over like a ray of joy, and you can never go feeling any better than that.
You can take extra pride by showing your creations on social media to get that dose of validation.
The process of learning how to create 3D art ends here, where you learnt what materials are required and the techniques you need. Selecting a theme is critical, and NukeArt has presented a bundle of resources in the form of 3d texture painting in the set of 2 and set set of 3.
Get inspiration from NukeArt for premium Wabi Sabi wall art or any Minamilsit 3d wall art.


